


Overview
Building in Minecraft is time consuming, especially if you’re trying to create a large spawn or hub for your server. This is amplified when you add highly detailed decorations to the structure, which always looks nice after completing it. However, many players can become overwhelmed by the difficulty of designing it in-game. Solving this introduces the WorldEdit plugin and mod, allowing you to use premade structures to easily make the perfect map. Additionally, players can save their own buildings to use in other worlds or servers. Whether you’re transferring your singleplayer base or simply wanting artwork in-game, using schematics is extremely helpful. Setting this up requires you to understand how to use WorldEdit and some extra information. Due to this, we’ve created this Apex Hosting guide to show you how to install, load, and use schematics on your hosted Minecraft server.
Downloading WorldEdit
There are two different types of WorldEdit, which share almost the same functionality. These include the plugin and mod variants, allowing owners to install them on Spigot, Paper, Forge, or Fabric servers. Other versions could be used, as long as it provides the necessary support to run WorldEdit. Depending on your setup, follow the subsections below to begin downloading it.
Spigot and Paper
- Navigate to WorldEdit on Bukkit’s website.
- Near the top of the page, press the
Filestab.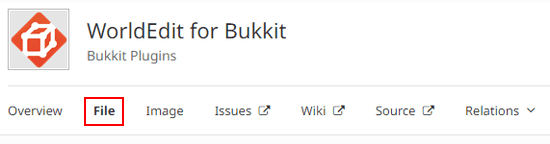
- Locate your desired version, then click the Download button.

- Save this file somewhere easily accessible on your computer.
Forge and Fabric
- Navigate to WorldEdit on CurseForge’s website.
- At the top, press the
Filestab option.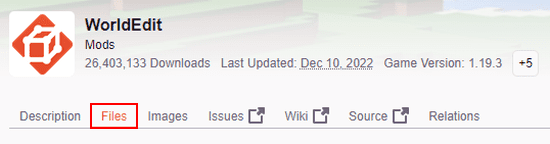
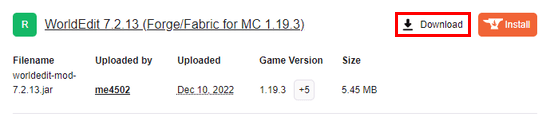
- From here, locate your desired
Game Versionand select it. - Once found, click the Download button to the right.
- Save the file on your computer in an easily accessible location.
Server Installation
As noted above, the two kinds of WorldEdit determine how it’s used on your server. Make sure the Game File section of the panel has a supported type selected so everything works properly. Once you’ve confirmed this, follow the subsections that match your setup to successfully install WorldEdit on the server.
Plugins
- Head towards your Apex server panel and click
FTP File Accessnear the top left.
- Continue to type your
Passwordin the text box, then press theLoginbutton.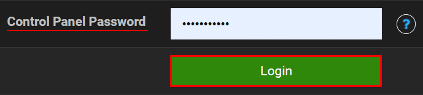
- Locate and select the plugins directory and click
Uploadat the top left.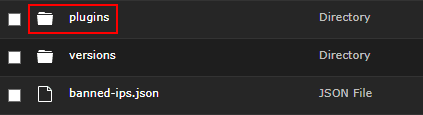
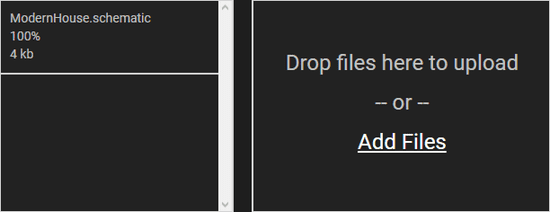
- Drag and drop the file in the respective area, then wait for it to reach
100%.
Restartthe server from the main panel to begin loading WorldEdit.
Mods
- Head towards your server panel, then click the
FTP File Accessbutton. - Proceed to type your
Passwordin the text box and clickLogin. - Locate and enter the mods directory, then press
Uploadat the top left corner.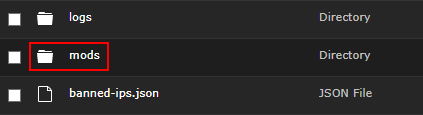
- Drag and drop the file into the respective area and wait for it to complete.

- Return to the main panel, then
Restartthe server to load WorldEdit.
Obtaining Schematics

There are a few ways to locate schematics for WorldEdit, with saving previously created structures being a popular one. However, if you’re looking for custom made buildings, then finding them online is required. We’ll go through each of these methods for you to start obtaining schematic files. Although, skip ahead to the Using Schematics area down below if you already have these documents on hand.
Online Download
Players seeking for existing structures to use in their servers must search online for them. There are multiple areas to do this, with some requiring registered accounts before downloading files. For instance, a popular service to use is Minecraft-Schematics, but isn’t easily accessible compared to others. With this in mind, we’ll show you a free and safe website to obtain schematic files down below.
- Navigate to the Schematic section on PlanetMinecraft.
- Locate and select your desired Minecraft map and/or schematic.
- Once found, press the Download Schematic button on the right.

- Save this file on your computer for the transferring process.
In some cases, the file(s) will be zipped into a single document. Accessing this requires you to install WinRAR or 7zip, which reveals the zip’s contents. Otherwise, it should be .schematic or .schem files after downloading them from PlanetMinecraft. Although, occasionally there won’t be any to find due to the map creator’s mistake.
In-game Saving
Existing structures in your Minecraft server with WorldEdit installed means you can easily create a schematic file for it. However, if you’re wanting to do this for a singleplayer world, then you’ll want to install Forge or Fabric on the client with the mod version too. The process is the same regardless of this, so follow along below to begin saving buildings as a schematic. Although, it’s worth mentioning that players must place two blocks outside of their desired structure to copy it. These placements must be done at its opposite corners, with one near ground level and the other in the sky above it. With this in mind, you’re ready to begin the saving process.
- Enter your server or singleplayer world, then execute the //wand command.
- Locate your desired structure to make it a schematic.
- Once found, place the two blocks outside of it for the copying process.
- Head towards the first block and
left-clickit while holding the wand.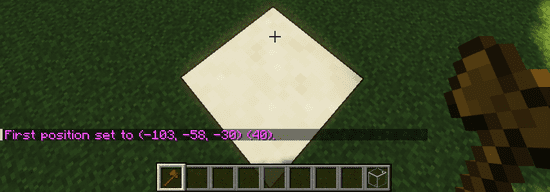
- Do the same for the second position, but
right-clickinstead.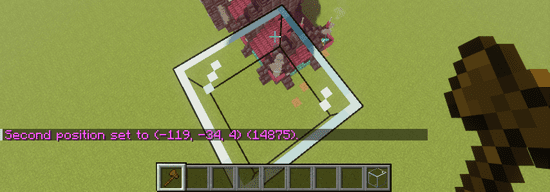
- Afterward, execute the //copy command so the build is in your in-game clipboard.
- Run the //schematic save [name] to save the structure in a file.

Singleplayer worlds will store these schematic files in your local game directory. Accessing this area differs depending on your computer’s operating system, but there’s a universal method.
This is done by navigating to the
Installationstab in your Minecraft launcher, then clicking theFoldericon on your modded profile. Afterward, navigate towards the …/config/worldedit directory to view the “schematics” folder containing your structures. Keep this information handy when transferring them to your server.

Alternative Method
- Open a single-player world.
- Use //schem load FILENAME followed by //schem paste to place the structure.
- Load the world in a newer version of Minecraft.
- Reselect the structure using //pos1 and //pos2.
- Use //copy to copy the structure.
- Save it in the desired format using //schem save FILENAME.
This process ensures the structure is saved in the correct format supported by your current game version.
Using Schematics

After creating your schematics, either in your server or through singleplayer, using them is the next step. This process is fairly straightforward, but differs depending on how you obtained the file(s). If you used singleplayer to do it, then follow the subsections in order to begin transferring and loading them on the server. Otherwise, skip ahead to the Schematic Loading area to start using schematics in the world.
Schematic Uploading
The pathways to upload schematics changes if you’re on Spigot/Paper or Forge/Fabric. This is important, as the file must be correctly installed for it to work properly in-game. However, the rest of this process is universal and easy-to-follow.
- Head towards your
FTP File Accessarea from the main server panel. - Enter your
Passwordaccordingly, then click theLoginbutton. - Navigate to the correct schematic folder in your FTP panel, which is down below.
- Plugin version: The
…/plugins/worldedit/schematicsdirectory. - Mod version: The
…/config/worldedit/schematicspathway.
- Upon entering this pathway, press
Uploadat the top left corner. - Drag and drop your .schematic or .schem file into the respective area.
- Wait for this to reach
100%, then return to the main panel andRestartthe server.
Schematic Loading
Loading the schematic in your world is quick and painless, as it only involves a few commands. However, the server may lag momentarily if the structure’s size is too large. Once deployed, it’ll appear automatically at your in-game location. The instructions below show you how to do this process.
- Join your server and run the //wand command, if you don’t have the tool already.
- Afterward, find a suitable location for the desired schematic.
- Upon locating this spot, execute //schem load [name] without the filetype at the end.

- When you’re ready, type //paste to generate the structure at the in-game location.

If you’ve accidentally pasted your schematic in the wrong location or it isn’t placed correctly, then use the //undo command. This automatically removes it from the world so you can redo it. However, it may be beneficial to use //paste -a for this process, as it removes air blocks when appearing in-game. There may be other commands to try out too, which we recommend exploring if you still have issues loading the schematics properly.
Common Issues
Sometimes, WorldEdit will not entirely work properly on the server or client. This is mainly caused by an incorrect installation or incompatibility. Remember, the plugin version must be installed in the plugins directory on Spigot, Paper, or other similar server types. As for the mod variant, simply upload the file into the mods pathway on Forge or Fabric. However, it’s encouraged to confirm you’re doing this on the right Server Profile since that could cause some issues. This is similar for clients, as you must have Forge/Fabric installed previously for WorldEdit to work. Once you have everything done, Restart the server or launcher to begin loading it.
On rare occasions, schematics will fail to load in your server or singleplayer world. This happens when the structure exceeds the currently used Minecraft version to do it. In other words, some blocks may not exist and create incompatibility problems. Alternatively, the file itself could have encountered issues at some point during the upload or download process. Otherwise, the creators of the schematic incorrectly saved it. However, it’s equally possible that the structure is too large for the game or server to handle. Due to this, you may consider using the FAWE plugin or Forge mod instead for better optimization.
In most cases, players will have incorrect positioning for their schematics. This means after pasting it in-game, the structure isn’t in the right spot. Fixing this is a bit tedious, as you’ll need to either use extra WorldEdit commands, change your character’s position, or redo the schematic saving process. Playing around with these solutions is your best bet to resolve the situation.
Unfortunately, it’s not possible to directly convert .schem files to .schematic or vice versa, as most tools do not officially support this. The newer .schem format includes advanced block data, such as custom NBT tags and newer block IDs, that older formats may not recognize or support.
Useful Links
WorldEdit on Bukkit
WorldEdit on CurseForge
PlanetMinecraft Schematics
The WorldEdit Guide


